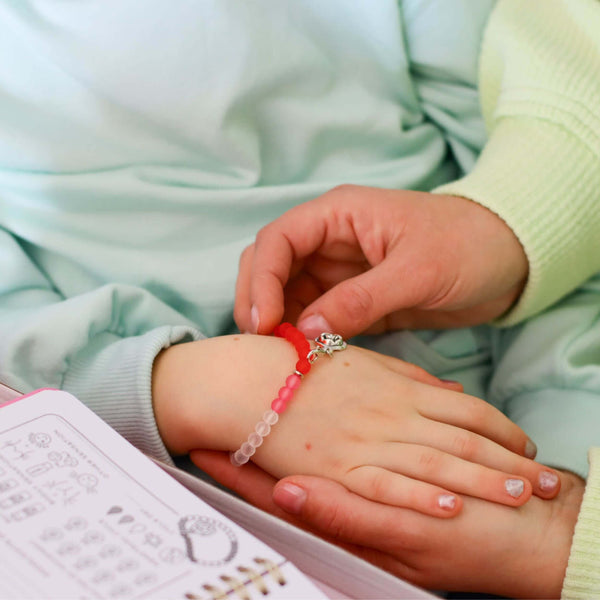
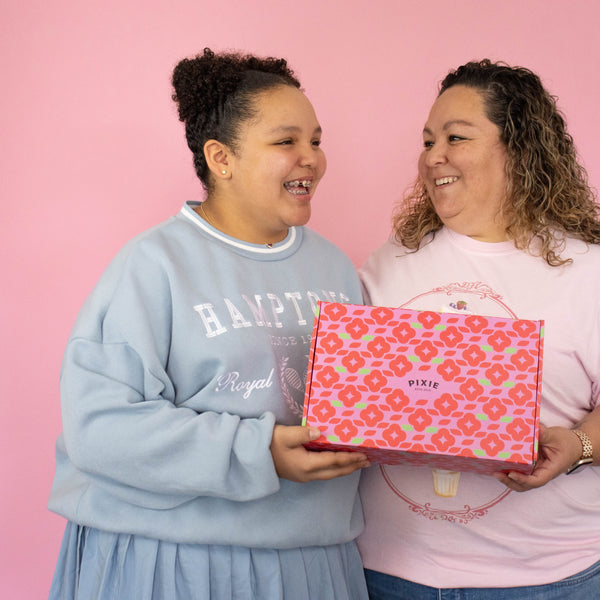
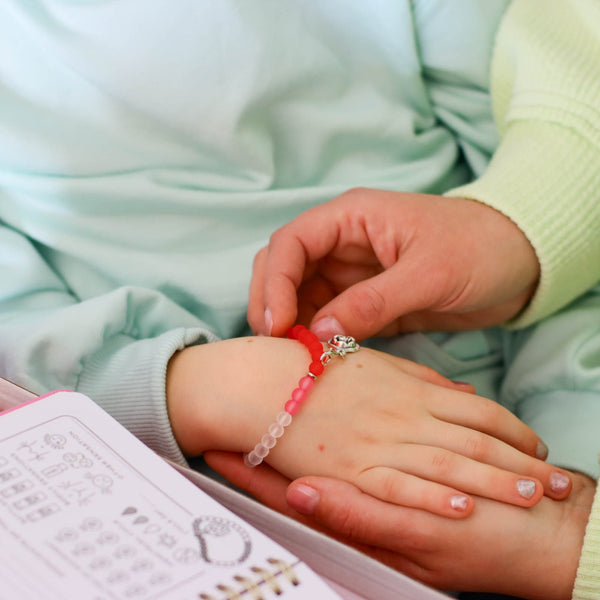
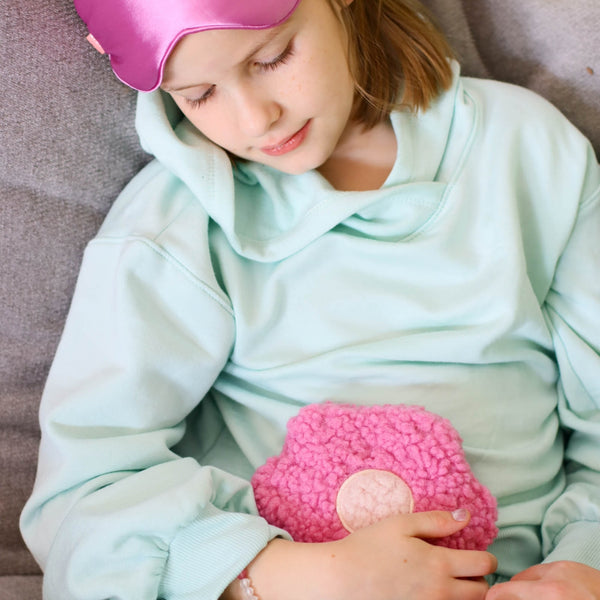
How to Make a DIY Period Tracking Bracelet (That’s Easy, Cute, and Educational!)
More and more, women are learning the benefits of tracking their period. Tracking your menstrual cycle helps you understand your body better, predict your period, identify patterns in mood and energy, and recognize signs of fertility or potential health issues. Many are deterred by the time and energy in tracking. But guess what?! Tracking your menstrual cycle doesn’t have to be complicated—or boring. With this colorful, DIY period tracking bracelet, you’ll not only create a beautiful accessory, but you’ll also get to know your body better. Whether you're a first-timer or teaching a tween, this craft turns cycle tracking for teens and women into something fun, creative, and empowering.

This project is a great alternative if you're wondering how to track your period naturally without an app or calendar. Instead, you’ll make something tangible and meaningful—designed by you, for you.
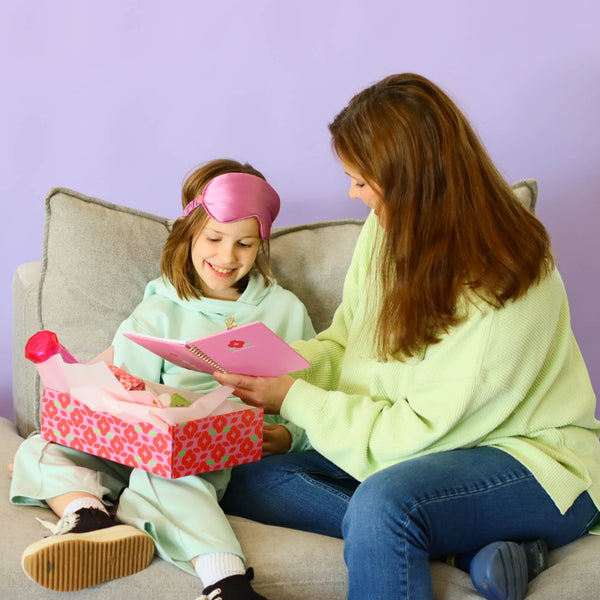
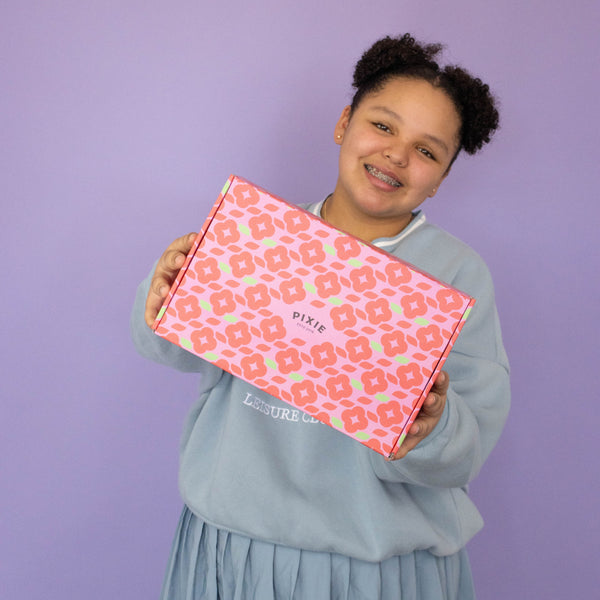
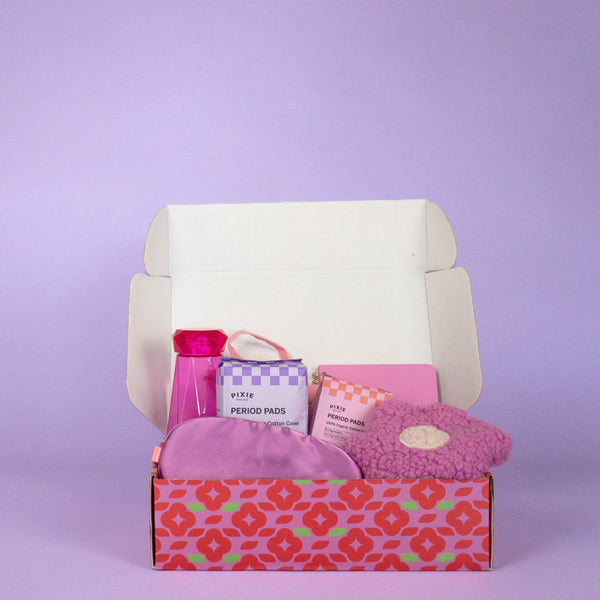
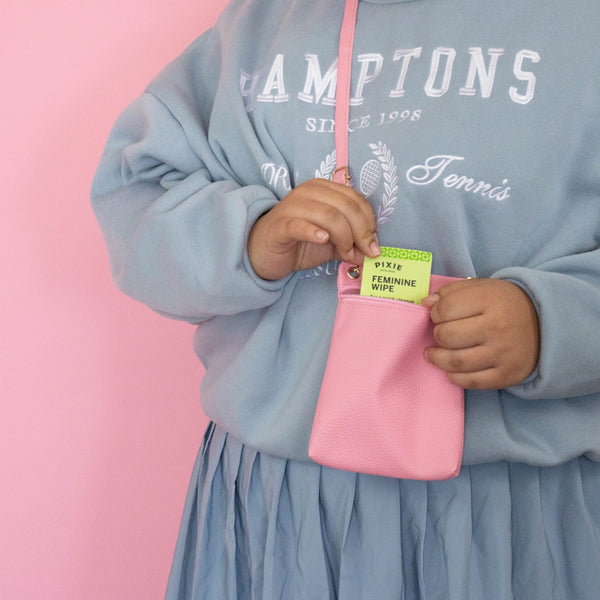
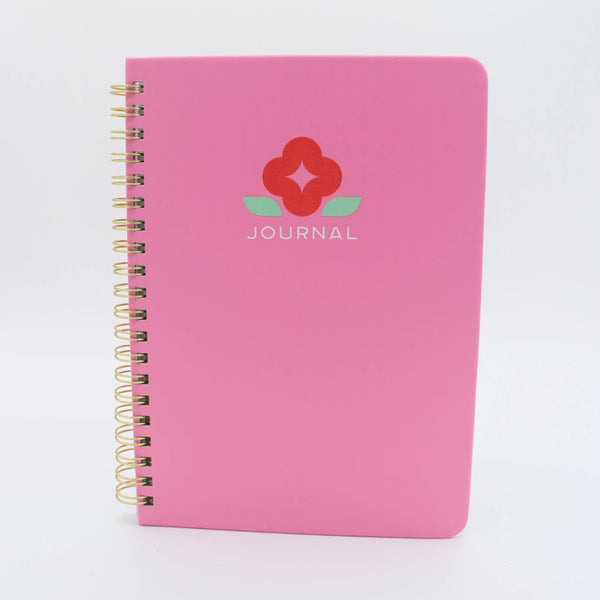
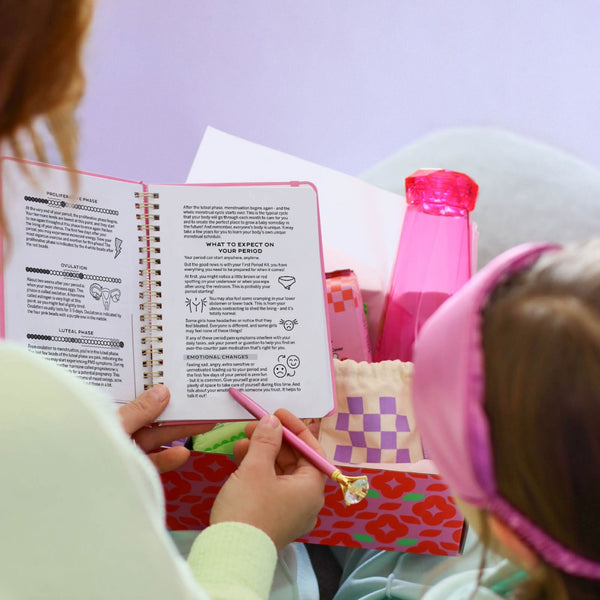
Maybe you're a parent or teacher looking for fun period education activities, this project turns a sometimes-taboo topic into something lighthearted and empowering. It’s a wonderful tool for menstrual cycle education for kids, and it makes for a meaningful gift or group activity, too. If you’re teaching your daughter about her period for the first time check out 10 Tips for Talking to Tweens About Their Period and Pixie’s My First Period Kit.
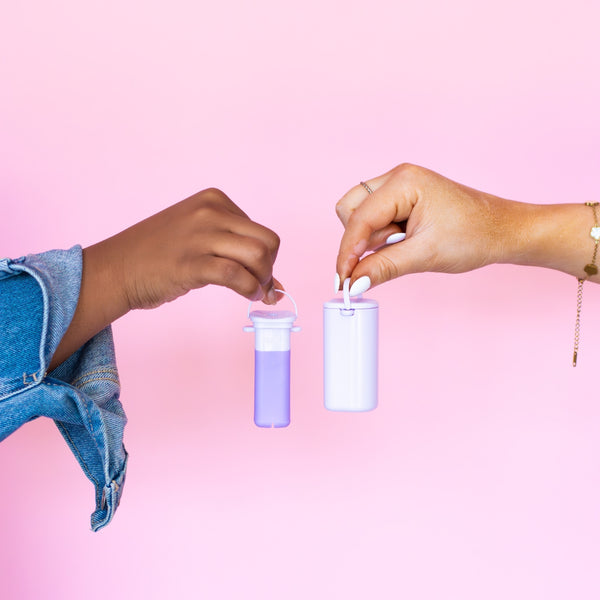
![]()
What You’ll Need:
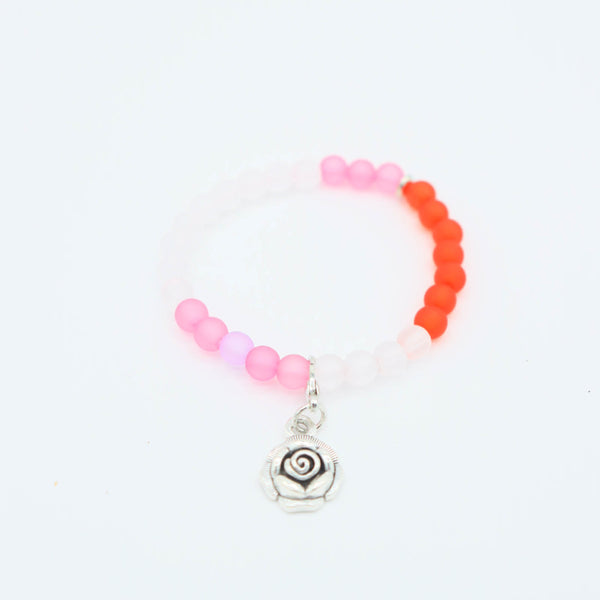
28 small beads in 5 different colors (to represent the full menstrual cycle). Feel free to customize the colors to fit you and your vibes!
- 7 red beads (menstruation)
- 13 white beads (non-fertile days)
- 7 pink beads (PMS + part of ovulation)
- 1 purple bead (ovulation day)
- Elastic string or cord
- Scissors
- 1 small charm or clasp (used to mark your current day in the cycle)
What Each Bead Color Means
To understand what you're tracking, let’s break down the phases of the menstrual cycle. This makes the bracelet a perfect tool for period education activities, especially for girls who are new to menstruation.
1. Menstruation (Days 1–7)
- Color: Red beads
This is when your period begins—your uterus sheds its lining. This phase usually lasts between 3–7 days. You might feel tired, moody, or low-energy, and that’s completely normal.
2. Follicular / Proliferative Phase (Days 8–11)
- Color: White beads
Your body begins building up a new uterine lining. Estrogen increases, giving you more mental clarity and motivation. You may notice a more upbeat mood.
3. Ovulation (Days 12–16)
- Colors: 2 pink beads + 1 purple bead + 2 pink beads
Ovulation is your fertile window. It’s the time when you may feel the most social, energetic, and confident. This is a great way to introduce concepts like ovulation tracking for teens or adults using something hands-on.
4. Luteal Phase (Days 17–28)
- Color: 9 white beads + 3 pink beads
Hormones shift again as your body prepares for either pregnancy or your next cycle. The last few days can come with PMS symptoms like mood swings, headaches, or cravings. Identifying these with beads helps you connect the dots in your own cycle.
For more on understanding the menstrual cycle check out clevelandclinic.org.
Make It Your Own!
Every body is different, so make your bracelet reflect you!
If your cycle is shorter or longer than 28 days, feel free to adjust the number of beads. You can even change the color scheme based on how each phase makes you feel. Think of this as your own DIY menstrual cycle tracker, a mix of craft and self-awareness.
How to Make Your Period Tracking Bracelet
1. Choose Your Beads
You can follow our suggested shades or get creative:
- Red: Period
- White: Non-fertile / steady days
- Pink: PMS and ovulation
-
Purple: Ovulation day
Want a rainbow? All pastels? Fun period education activities like this work best when they feel personal and joyful!
2. Cut Your String
Measure your wrist and leave a little extra length for tying a knot.
3. String the Beads in This Order:
- 7 red beads (menstruation)
- 4 white beads (proliferative)
- 2 pink beads (ovulation)
- 1 purple bead (ovulation)
- 2 pink beads (ovulation)
- 9 white beads (early luteal)
- 3 pink beads (PMS)
Tip: You can start with a 28-day bracelet and adjust later as you learn more about your body. That's the beauty of a custom cycle tracker—you’re in charge!
4. Tie Off the Ends
Once your beads are strung, tie a tight knot and trim any extra cord.
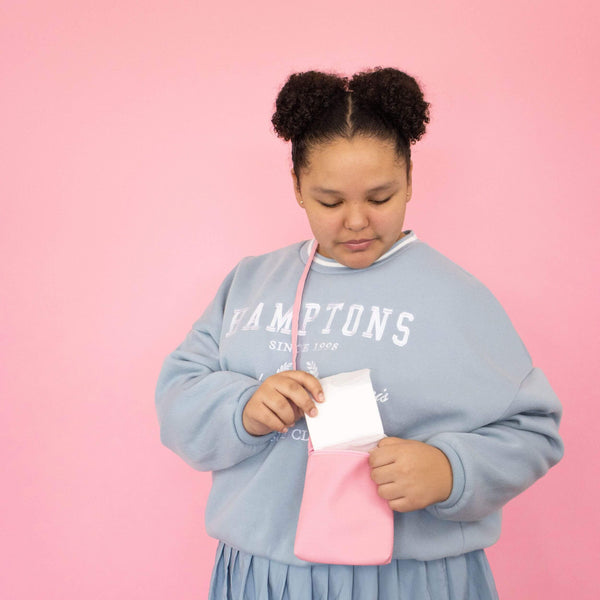
5. Add Your Charm
Use a charm or small clasp to mark today’s cycle day. Move it forward each day and you'll always know where you are in your cycle—without needing an app!
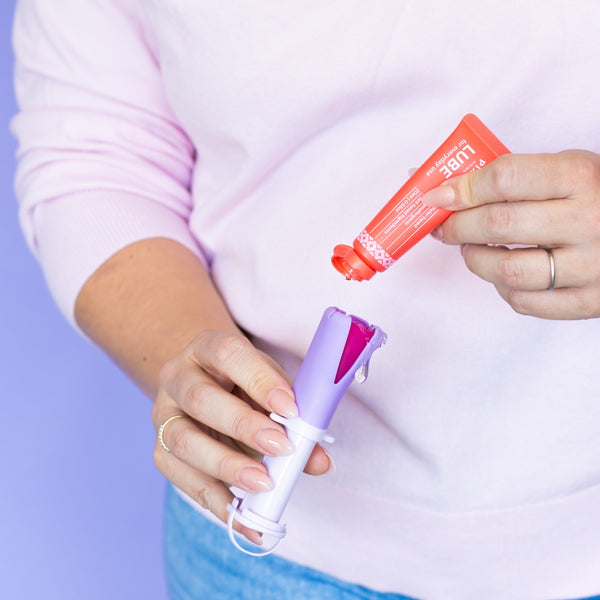
![]()
Final Thoughts
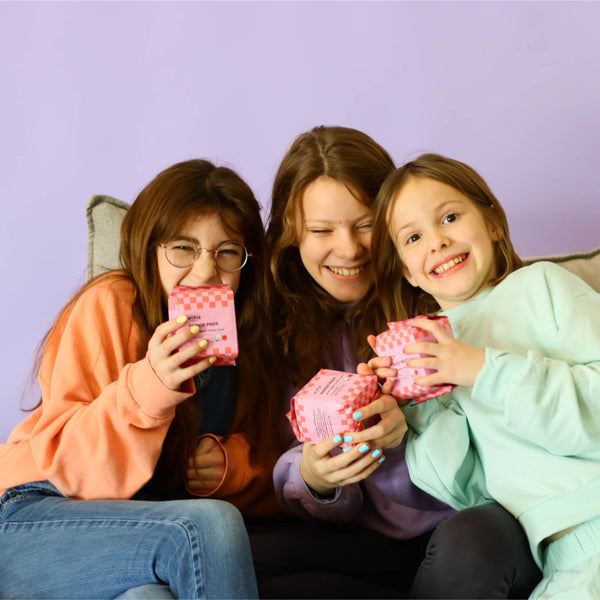
Cycle awareness is self-awareness. Whether you’re new to periods or years into them, a DIY period tracking bracelet is a simple, beautiful way to stay in sync with your body. Customize it, wear it, and let it grow with you.
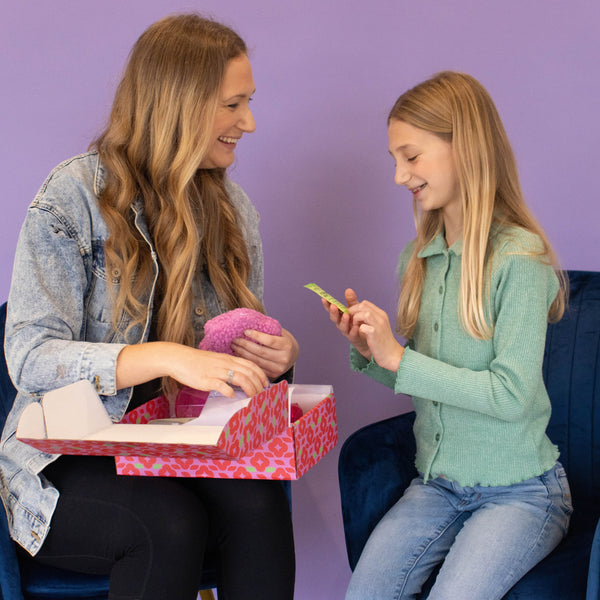
And when you make yours? Tag us @MyPixieCup on Instagram! We’d love to see how you bring your bracelet (and your cycle) to life.
Our Top Picks For You
-
Individually Wrapped Rose Wipes
![]()
![Individually Wrapped Rose Wipes]()
![Individually Wrapped Rose Wipes]()
![Individually Wrapped Rose Wipes]()
![Individually Wrapped Rose Wipes]()
![Individually Wrapped Rose Wipes]()
![Individually Wrapped Rose Wipes]()
![Individually Wrapped Rose Wipes]()
![Individually Wrapped Rose Wipes]()
![Individually Wrapped Rose Wipes]()
![Individually Wrapped Rose Wipes]()
![Individually Wrapped Rose Wipes]()
![Individually Wrapped Rose Wipes]()
![Individually Wrapped Rose Wipes]()
![Individually Wrapped Rose Wipes]()
![Individually Wrapped Rose Wipes]()
![Individually Wrapped Rose Wipes]()

- Regular price
- $6
- Sale Price
- Regular price
-
- $6
- Unit price
- per
Sold out -
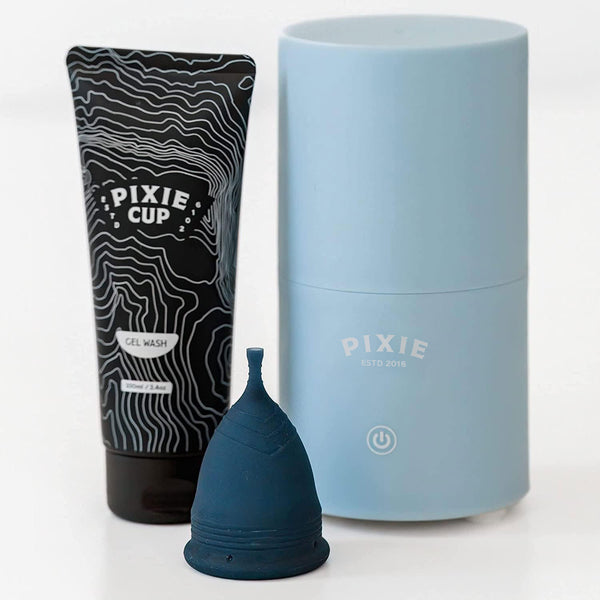
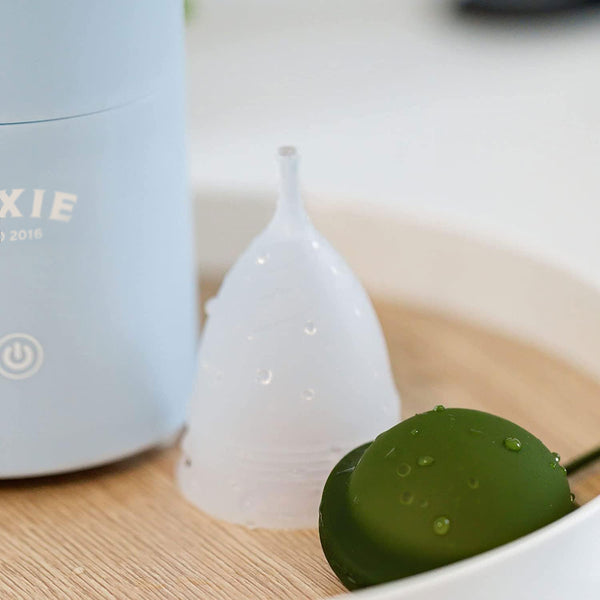
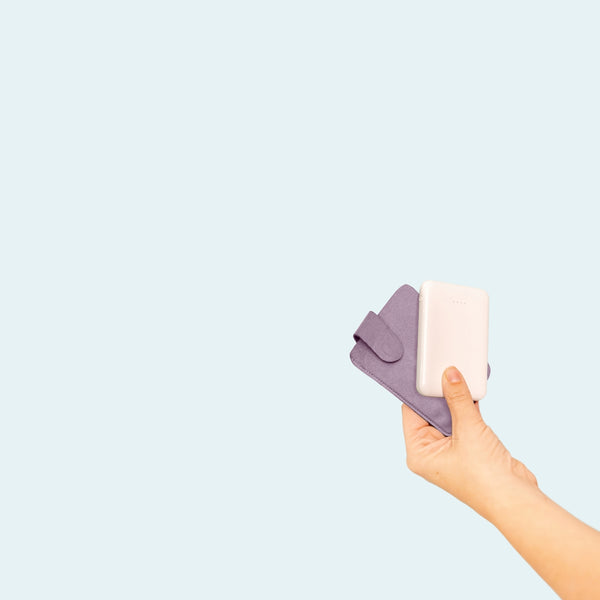
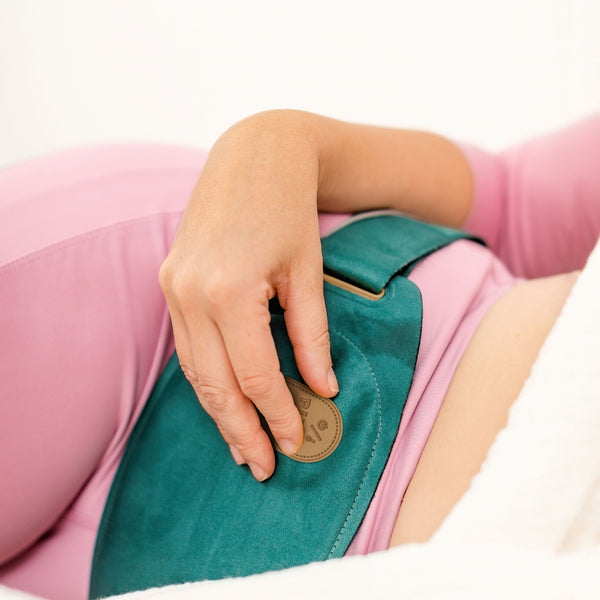
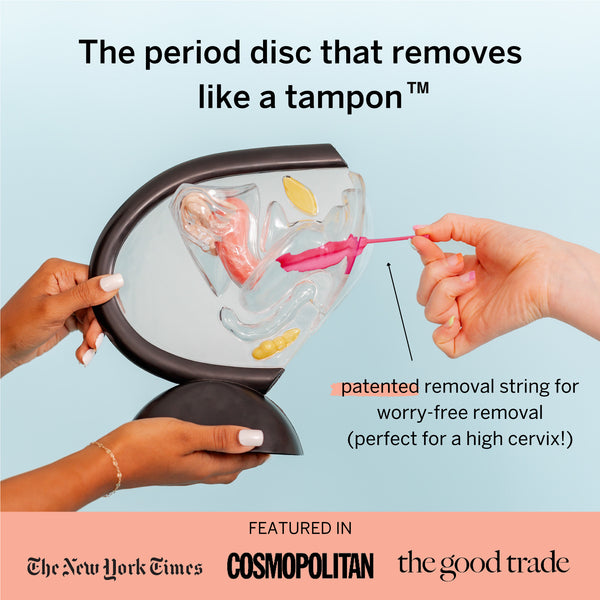
Period Disc & Applicator Kit
![]()
![Period Disc & Applicator Kit]()
![Period Disc & Applicator Kit]()
![Period Disc & Applicator Kit]()
![Period Disc & Applicator Kit]()
![Period Disc & Applicator Kit]()
![Period Disc & Applicator Kit]()
![Period Disc & Applicator Kit]()
![Period Disc & Applicator Kit]()

- Regular price
- $35
- Sale Price
- Regular price
-
$55 - $35
- Unit price
- per
Sold out -
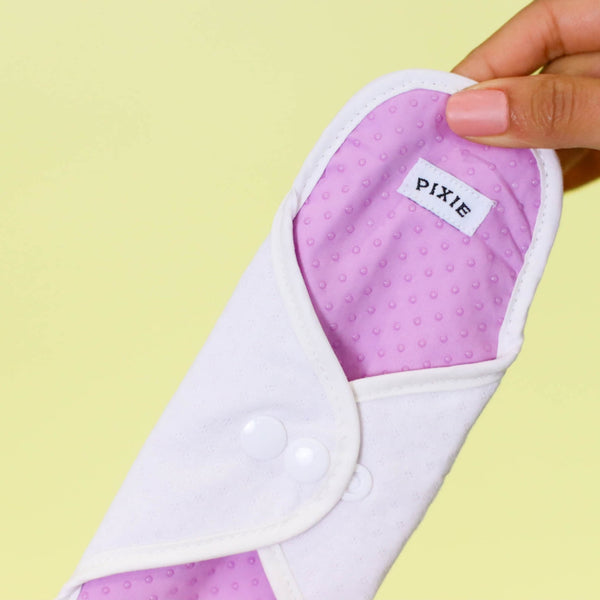
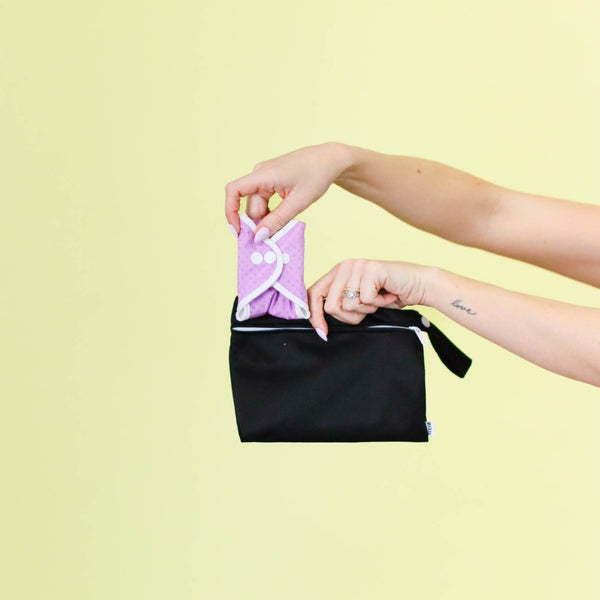
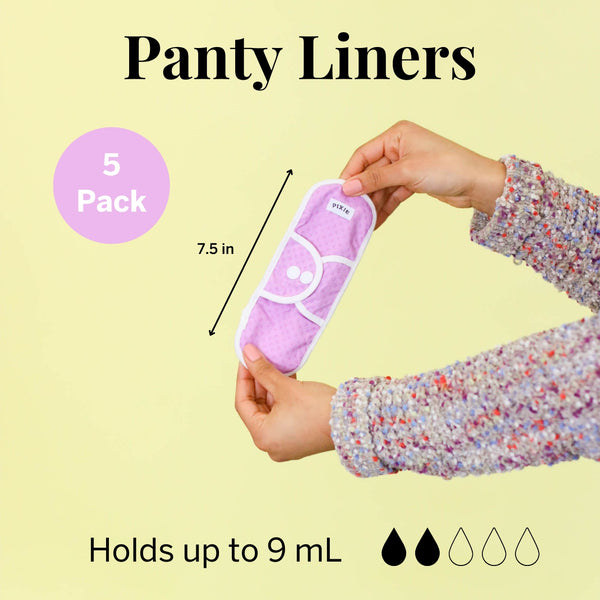
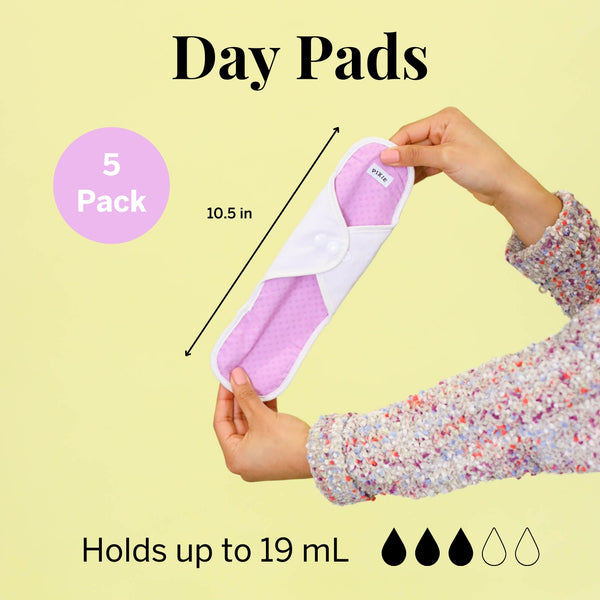
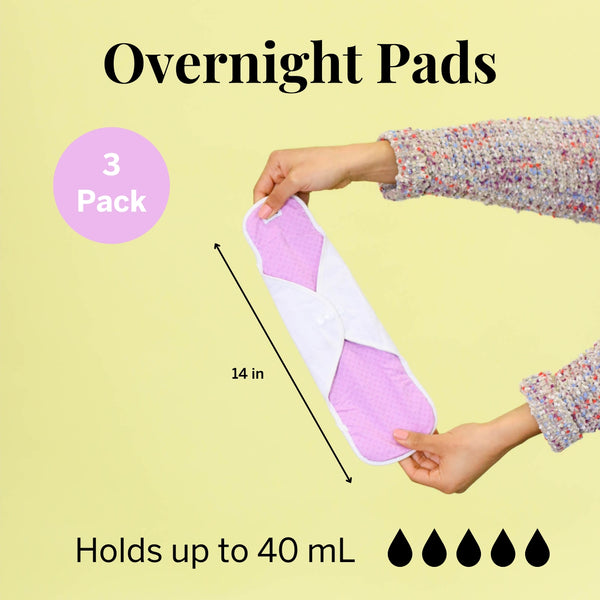
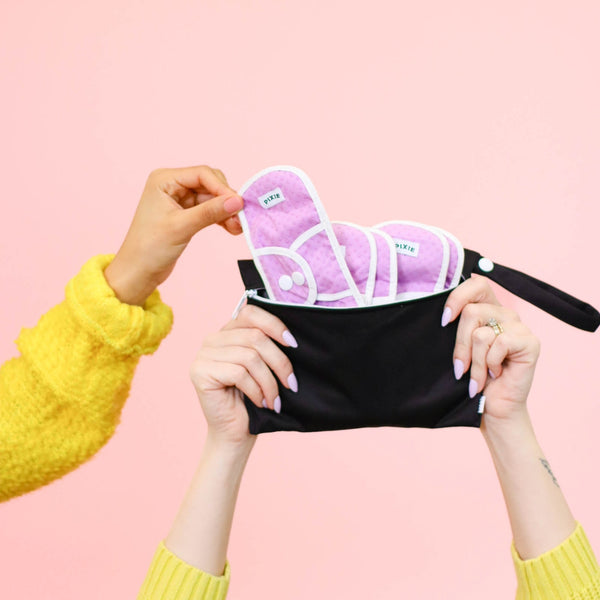
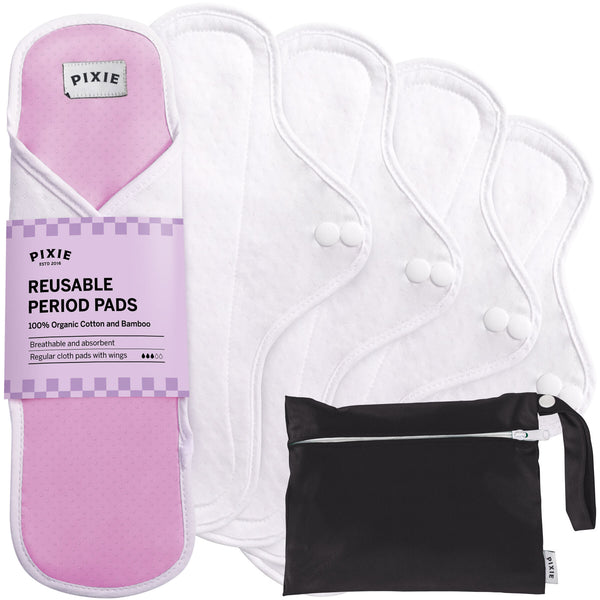
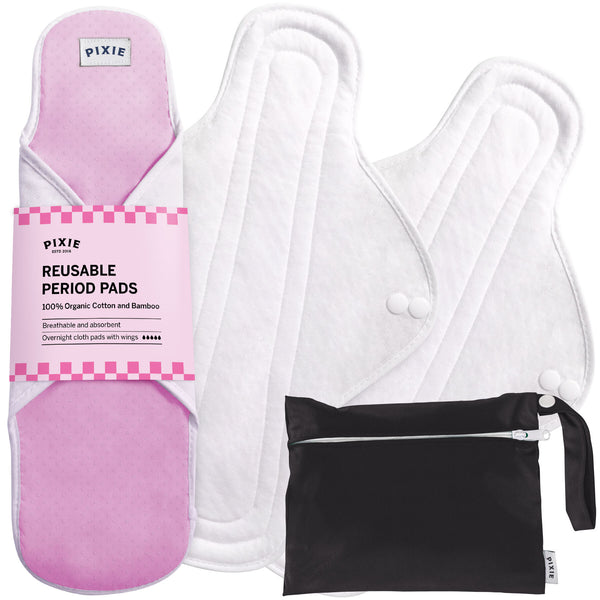
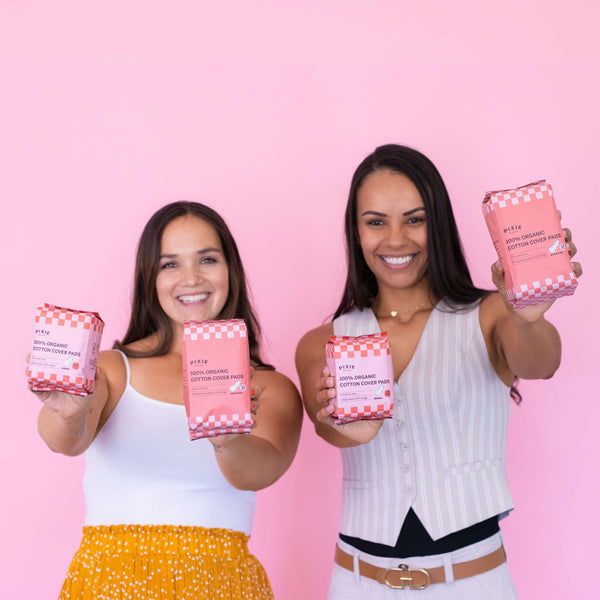
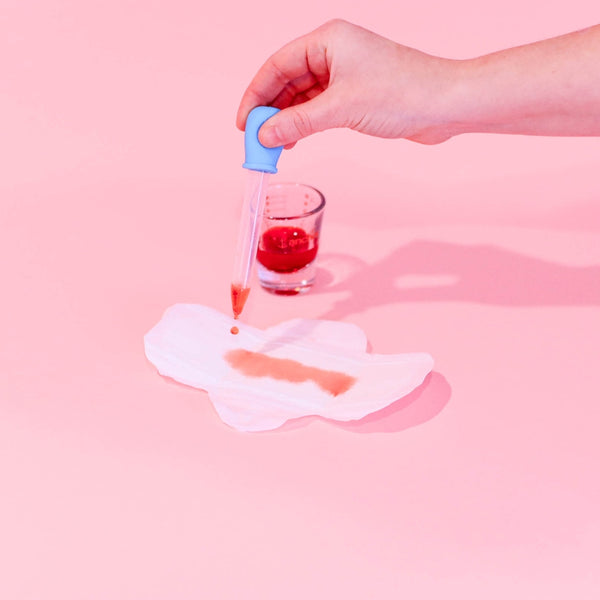
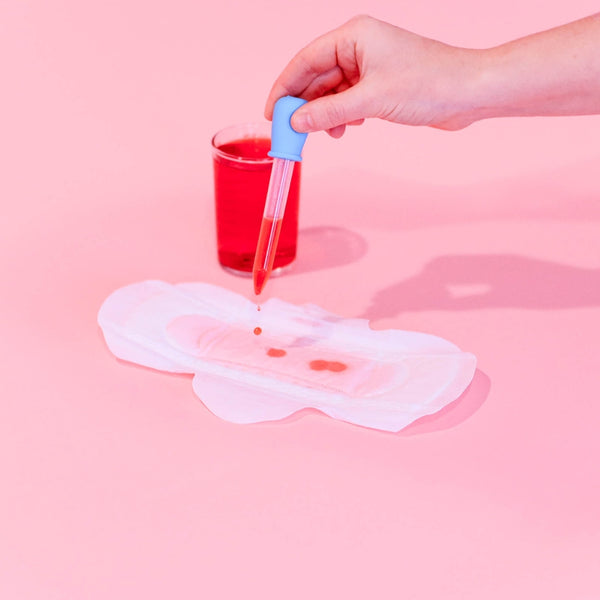
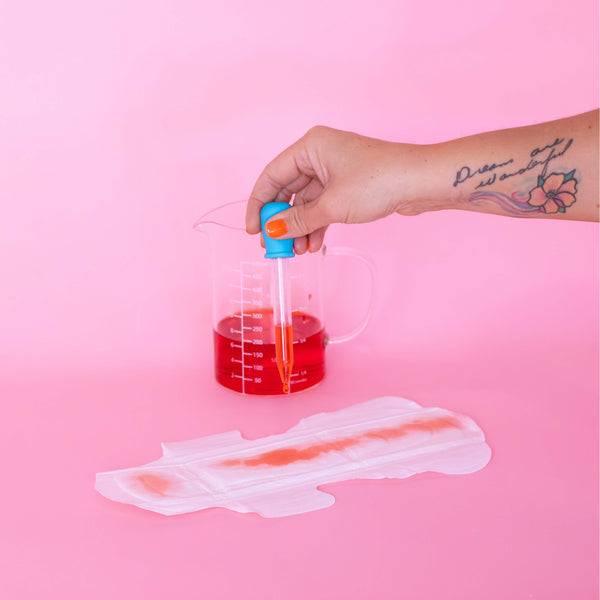
Reusable Organic Cotton Pads
![]()
![Reusable Organic Cotton Pads]()
![Reusable Organic Cotton Pads]()
![Reusable Organic Cotton Pads]()
![Reusable Organic Cotton Pads]()
![Reusable Organic Cotton Pads]()
![Reusable Organic Cotton Pads]()
![Reusable Organic Cotton Pads]()
![Reusable Organic Cotton Pads]()
![Reusable Organic Cotton Pads]()
![Reusable Organic Cotton Pads]()
![Reusable Organic Cotton Pads]()

- Regular price
- $25
- Sale Price
- Regular price
-
$34 - $25
- Unit price
- per
Sold out -
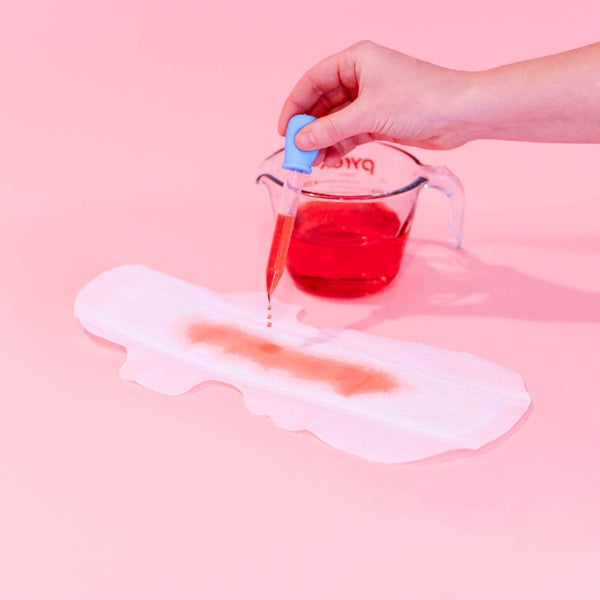
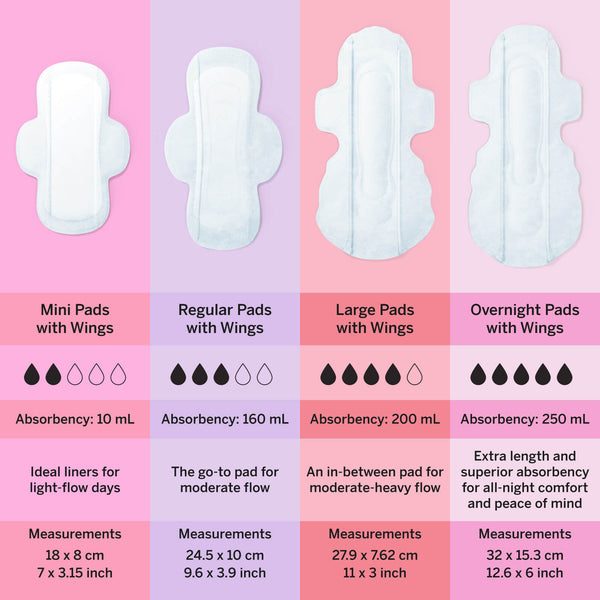
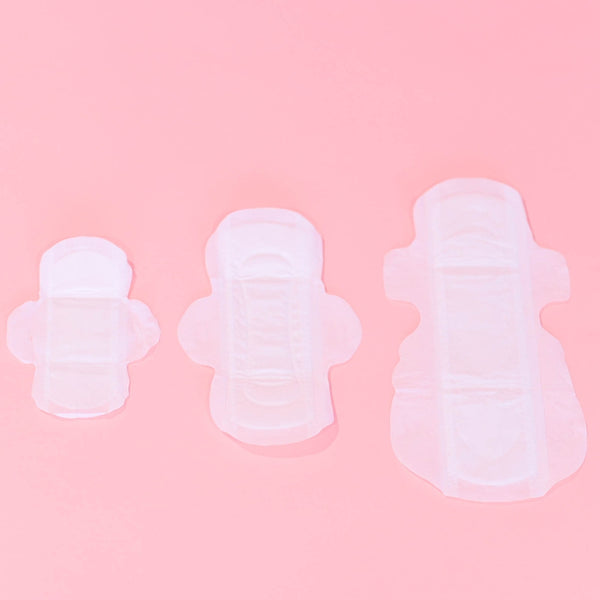
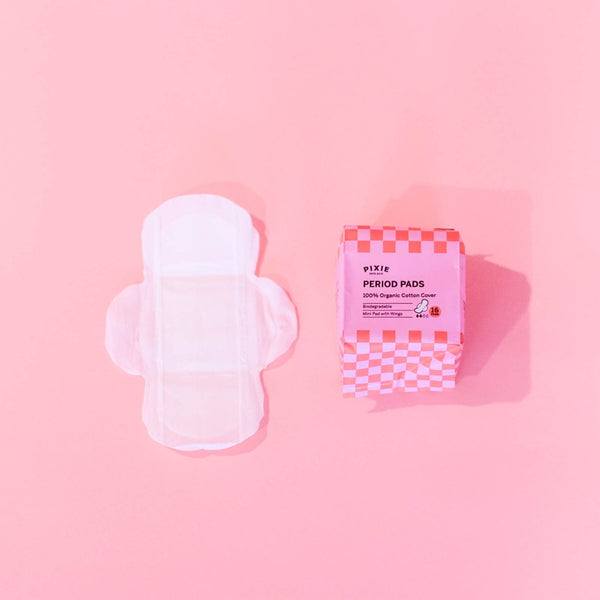
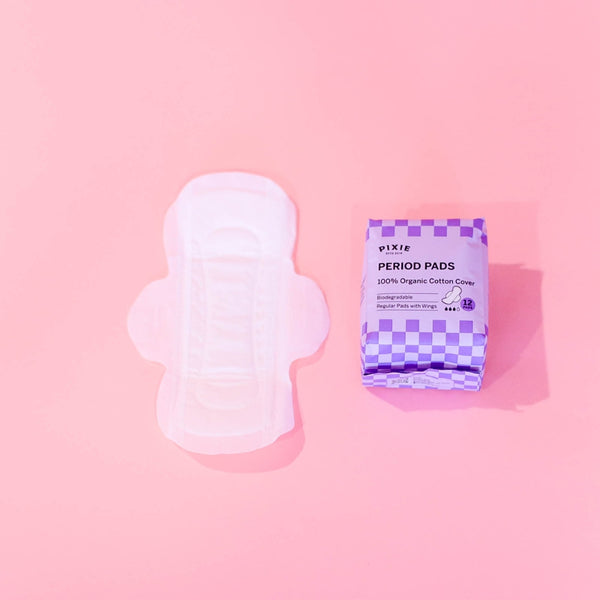
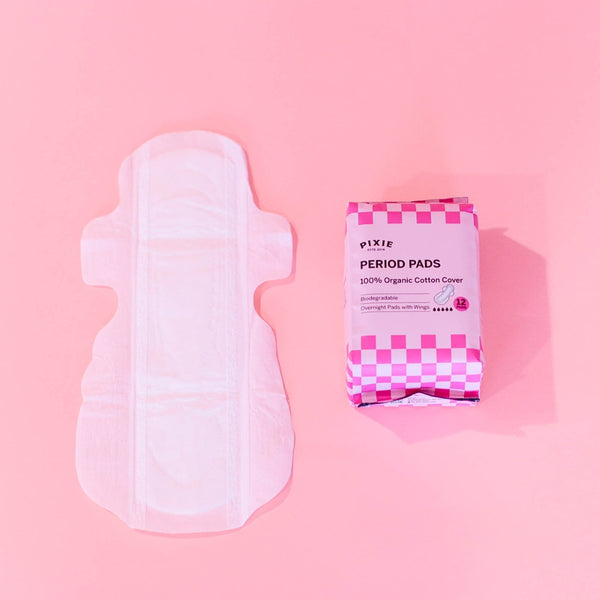
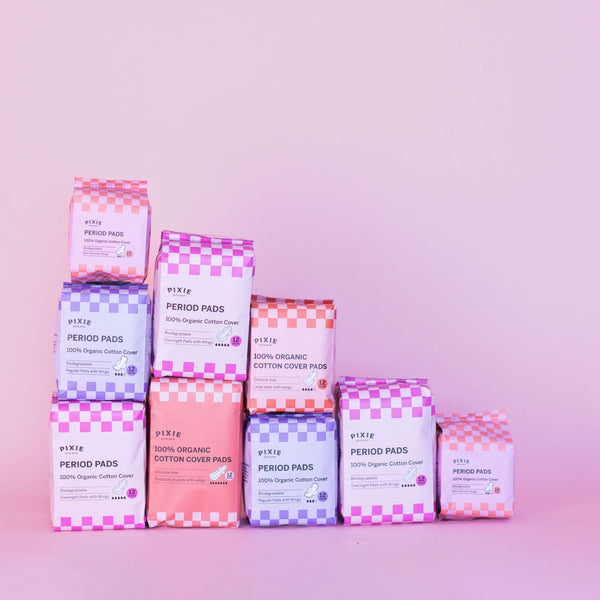
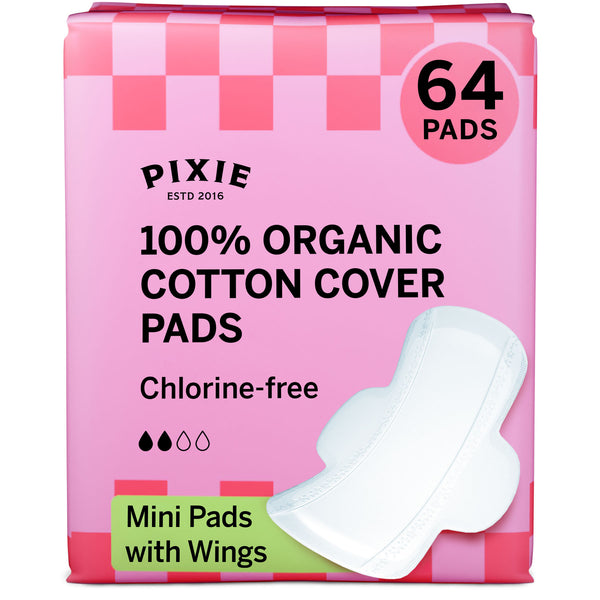
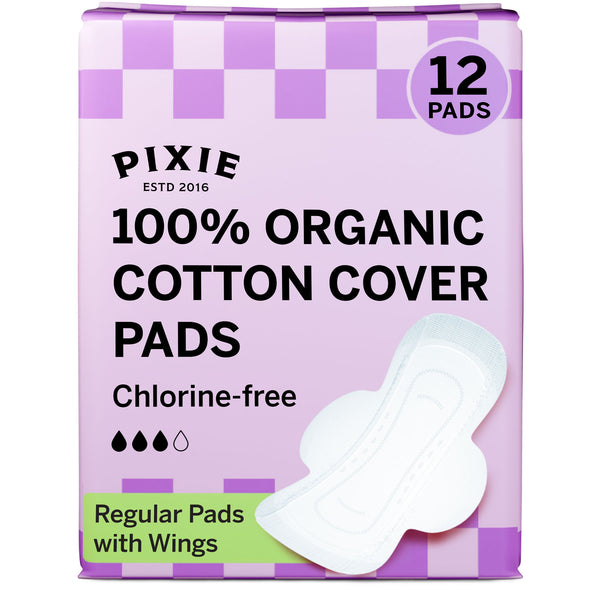
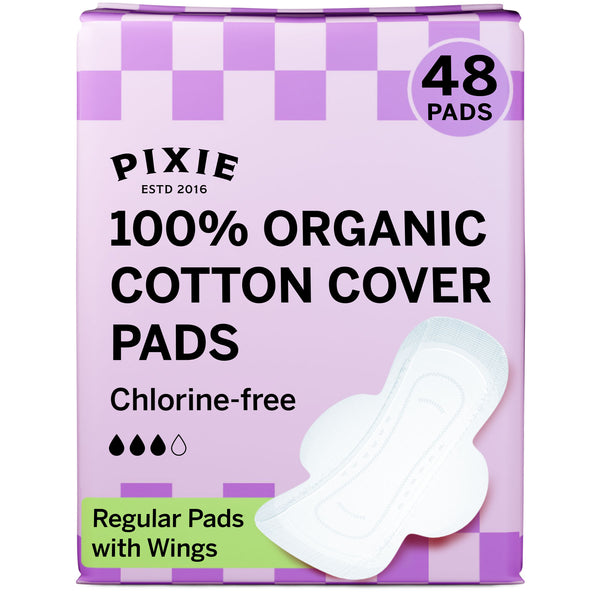
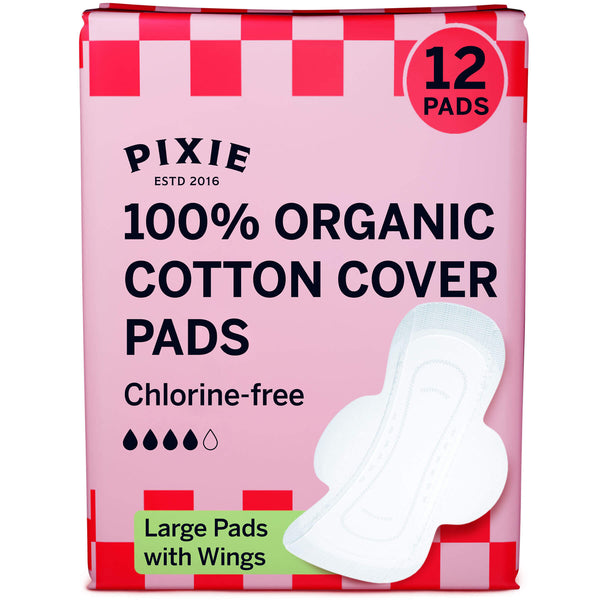
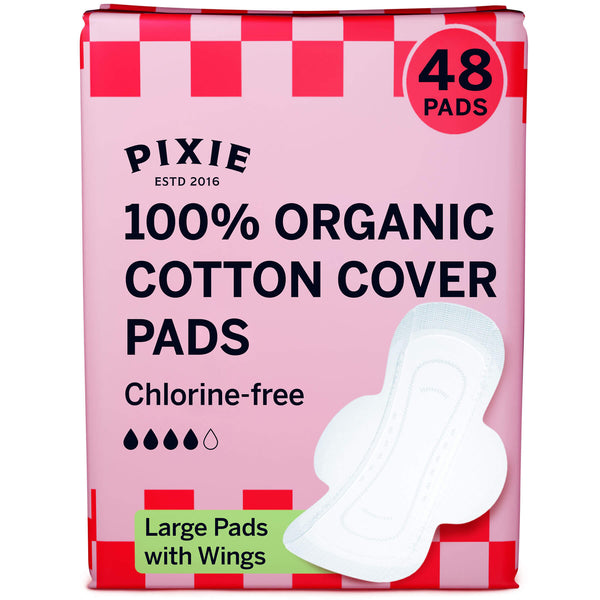
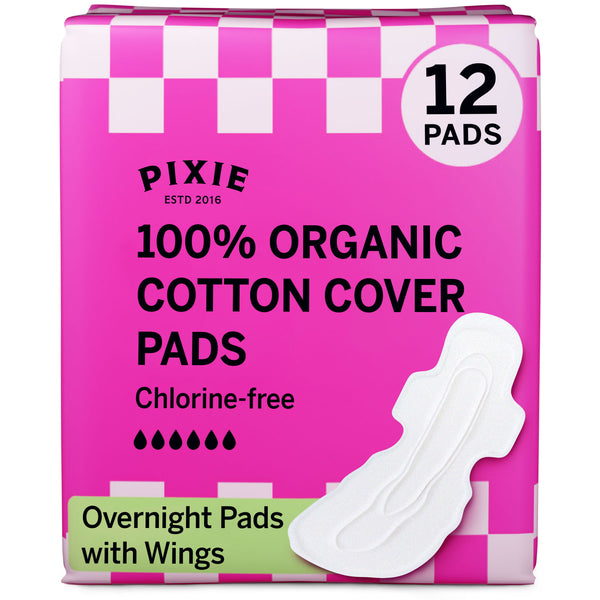
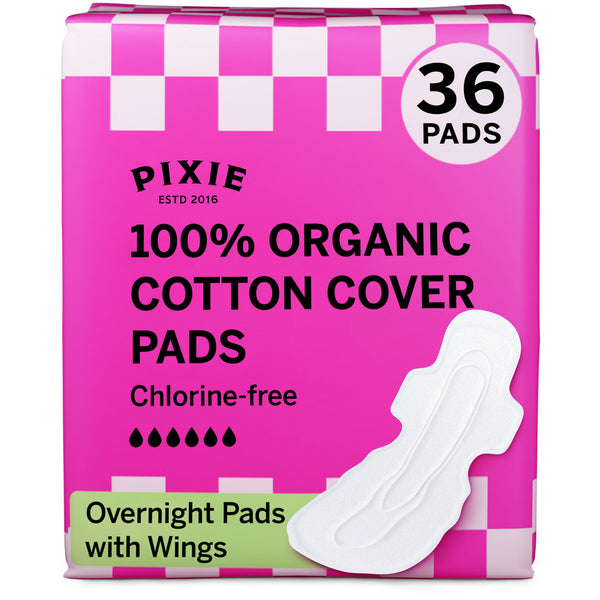
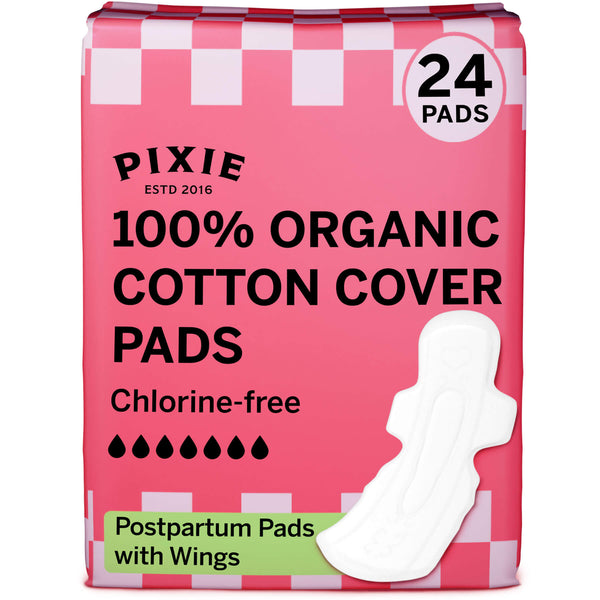
Disposable Organic Cotton Pads
![]()
![Disposable Organic Cotton Pads]()
![Disposable Organic Cotton Pads]()
![Disposable Organic Cotton Pads]()
![Disposable Organic Cotton Pads]()
![Disposable Organic Cotton Pads]()
![Disposable Organic Cotton Pads]()
![Disposable Organic Cotton Pads]()
![Disposable Organic Cotton Pads]()
![Disposable Organic Cotton Pads]()
![Disposable Organic Cotton Pads]()
![Disposable Organic Cotton Pads]()
![Disposable Organic Cotton Pads]()
![Disposable Organic Cotton Pads]()
![Disposable Organic Cotton Pads]()
![Disposable Organic Cotton Pads]()
![Disposable Organic Cotton Pads]()
![Disposable Organic Cotton Pads]()
![Disposable Organic Cotton Pads]()
![Disposable Organic Cotton Pads]()
![Disposable Organic Cotton Pads]()
![Disposable Organic Cotton Pads]()
![Disposable Organic Cotton Pads]()
![Disposable Organic Cotton Pads]()
![Disposable Organic Cotton Pads]()

- Regular price
- $7
- Sale Price
- Regular price
-
$9 - $7
- Unit price
- per
Sold out -
Combo Disc + Applicator Bundle
![]()
![Combo Disc + Applicator Bundle]()
![Combo Disc + Applicator Bundle]()
![Combo Disc + Applicator Bundle]()
![Combo Disc + Applicator Bundle]()
![Combo Disc + Applicator Bundle]()
![Combo Disc + Applicator Bundle]()
![Combo Disc + Applicator Bundle]()
![Combo Disc + Applicator Bundle]()

- Regular price
- $39
- Sale Price
- Regular price
-
$49 - $39
- Unit price
- per
Sold out